
Learn how to transfer images onto rocks using vintage prints or personal photos. This fun craft is perfect for creating unique decorations or homemade paperweights.
I’ve been obsessed with finding unique ways to use the gorgeous vintage images from Pictureboxblue. The images are stunning, and I knew I had to find a creative project to showcase them. That’s when it hit me—why not try printing onto rocks? You heard that right, turning ordinary stones into beautiful art pieces. It’s surprisingly easy, and the results? Amazing!
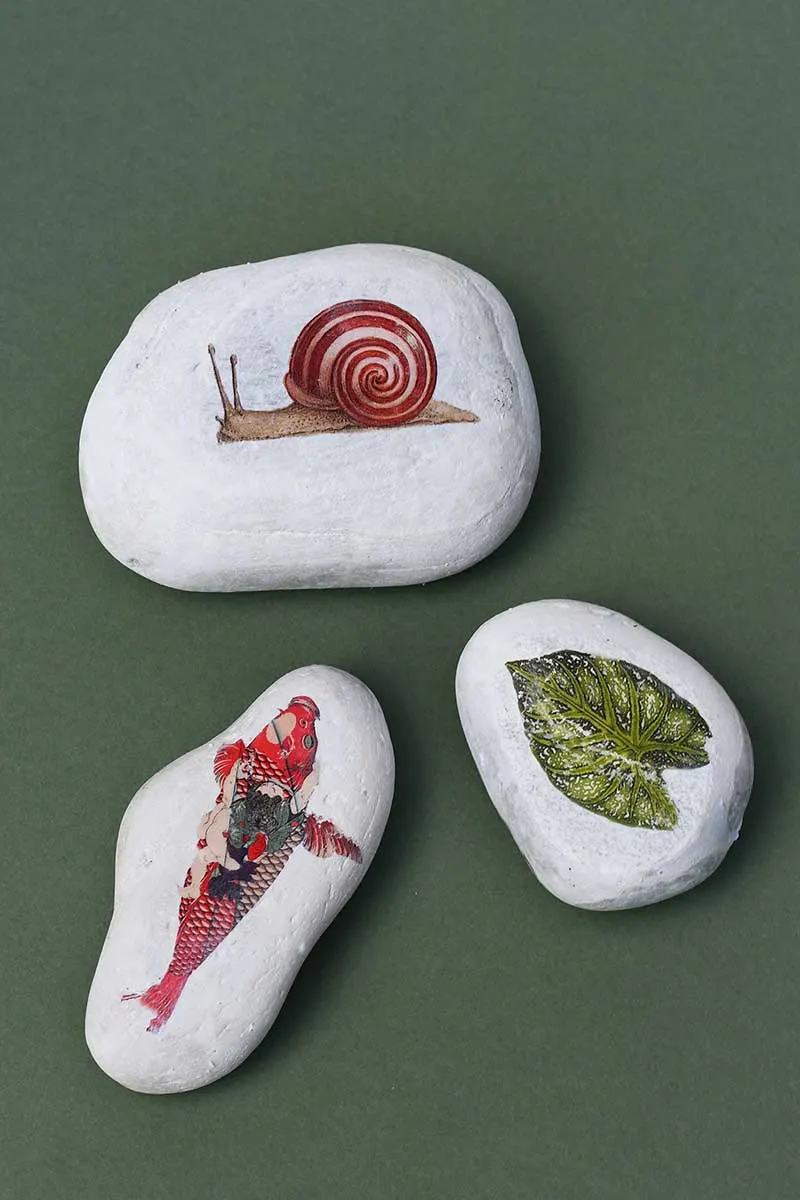
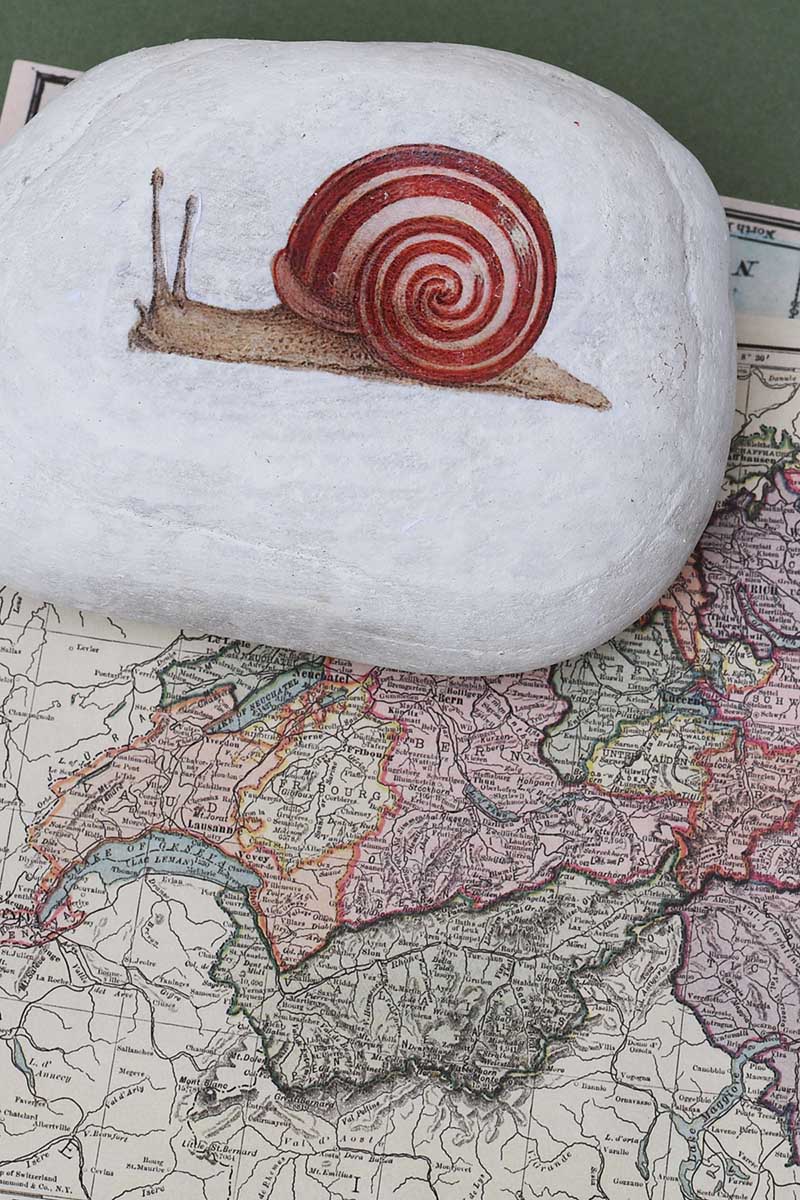
Whether you’re looking to make some unique home décor or create a thoughtful handmade gift (hello, homemade paperweights!), transferring images onto rocks is a craft that’s both fun and rewarding. Plus, it’s a great way to personalize your space or show off your artistic side. I even gave my rocks a little white wash beforehand to ensure the images pop against the background; trust me, it makes a big difference!
While I love using vintage images from Pictureboxblue for this project, you can use this technique to transfer personal photos onto rocks. Imagine how special it would be to have family photos or favourite memories beautifully printed on stones! Whether you’re going vintage or individual, the process is the same, and the results will be just as stunning.
In this guide, I will walk you through the entire image transfer process onto rocks, step by step. Don’t worry if you’re not a crafting pro—this is beginner-friendly. By the end, you’ll have some beautiful stones that can be used as decoration, gifts, or even to add a bit of personality to your desk. So grab your materials, and let’s begin this fun adventure of printing on stones!
Choosing the Right Images
When it comes to selecting the perfect images for your rock art, there are a few things to keep in mind:
- Laser-Printed Images Are Best: You’ll want to use images printed on regular paper with a laser printer for this project. I’ve tried it with inkjet printers before, and while it can work, the images sometimes smudge a little, which can be frustrating. Laser prints transfer more cleanly and reliably. If you don’t have a laser printer at home, don’t worry! Your local copy shop should be able to print the images for you.
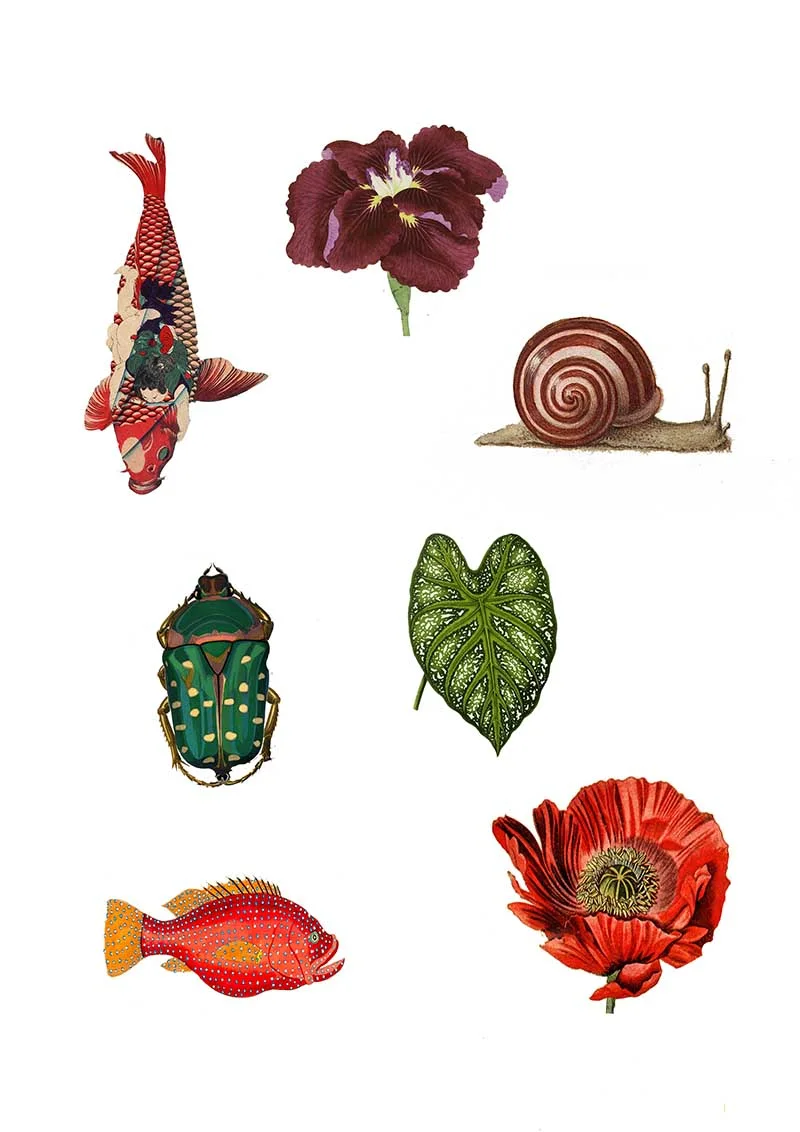
- Bright-Coloured Images Work Best: Bright colours are your friend when making your images pop on the rocks. Vibrant photos are more likely to stand out and give you that wow factor. If you’re using vintage pictures, choose those with bold colours to make them shine.
- Free Clip Art Selection: To help you get started, I’ve provided a sheet of clip art from Pictureboxblue.com that you can use. These images are perfect for this project, but if you want more options, check out other clip art collections on my blog. My parrot paper decor craft and songbird windchime projects have great images that would work beautifully for this rock transfer technique.

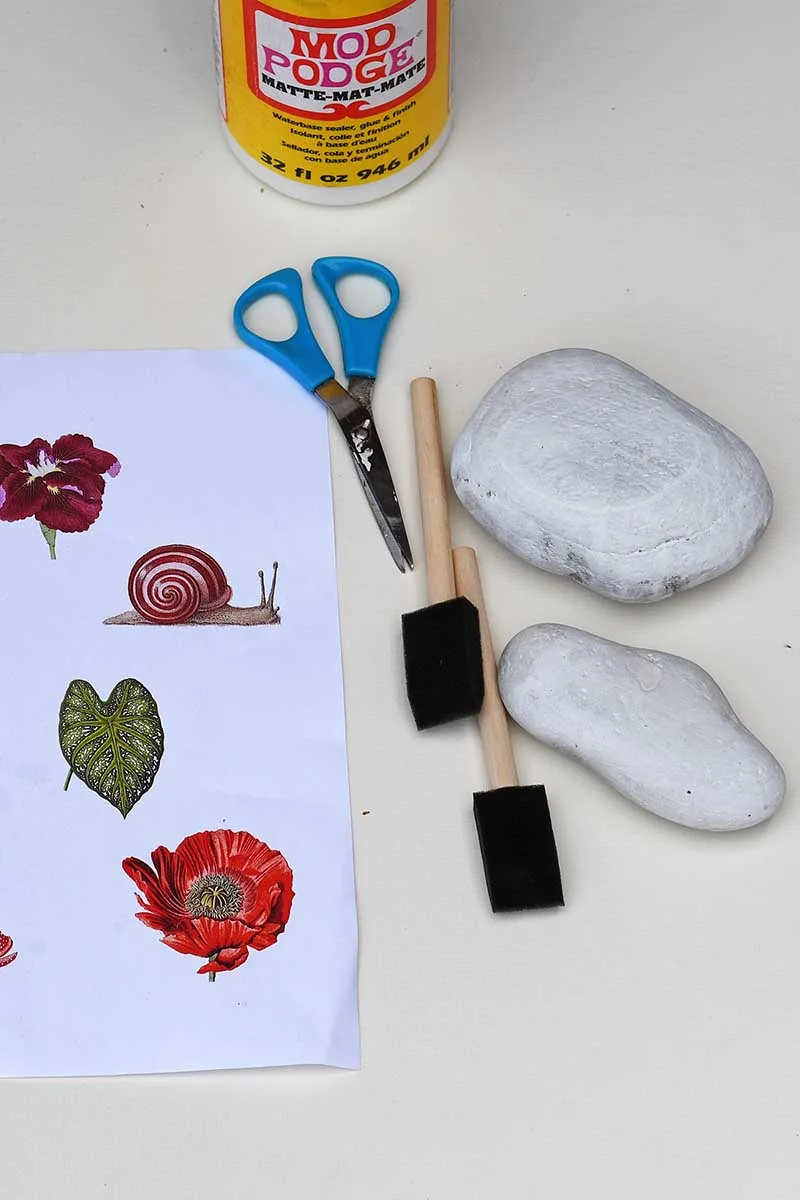
Materials Needed:
We participate in the Amazon Services LLC Associates Program, an affiliate advertising program designed to provide a means for us to earn fees by linking to Amazon.com and affiliated sites. As an Amazon Associate, I earn from qualifying purchases.
- Smooth, clean rocks work well (river rocks work well). You can also buy white rocks in craft stores and garden centres.
- Image printed on regular paper, preferably using a laser printer
- Mod Podge
- Foam brush
- Water
- Clear acrylic sealer
- Scissors
- Diluted white acrylic paint (for whitewashing)

How To Print Onto Rocks
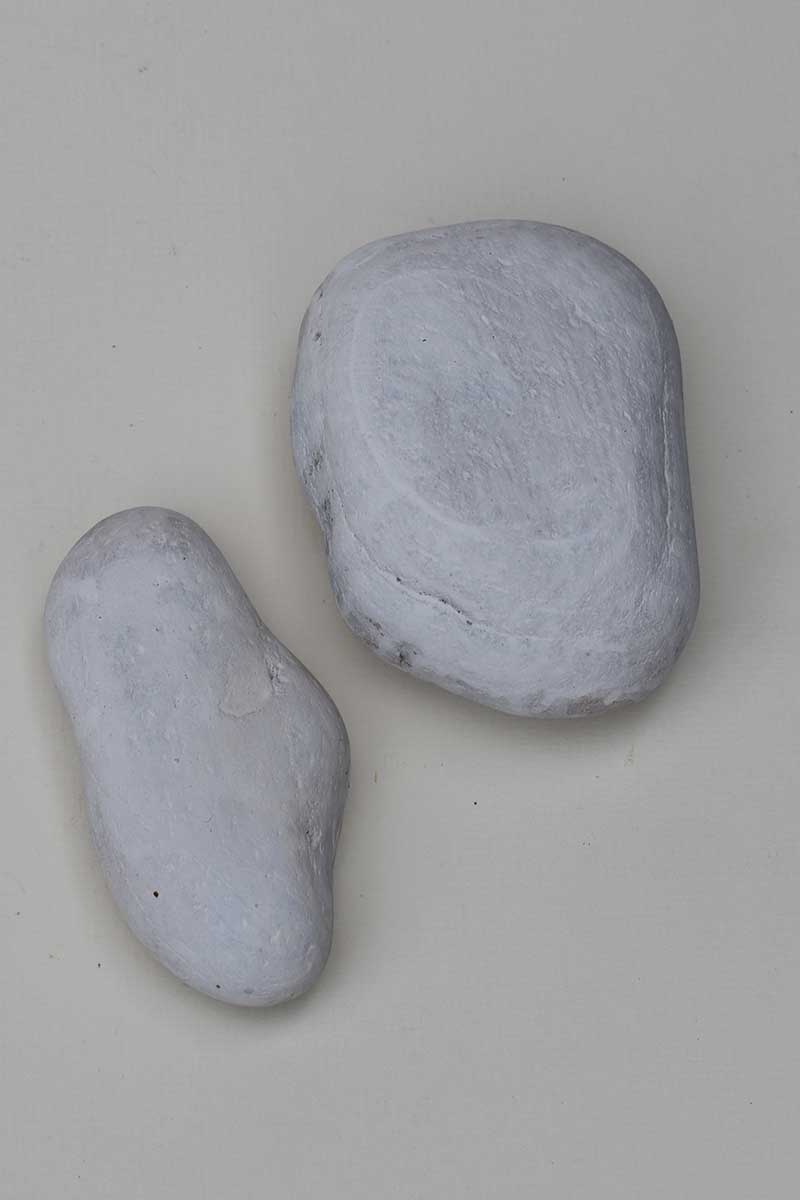
Step 1: Prepare Your Rock: Choose smooth, clean rocks that work best for image transfer. Wash the stones thoroughly and let them dry. Whitewash the rocks using diluted white acrylic paint to ensure the images print more clearly. This is optional but helps lighten the background, making the transferred image stand out more.
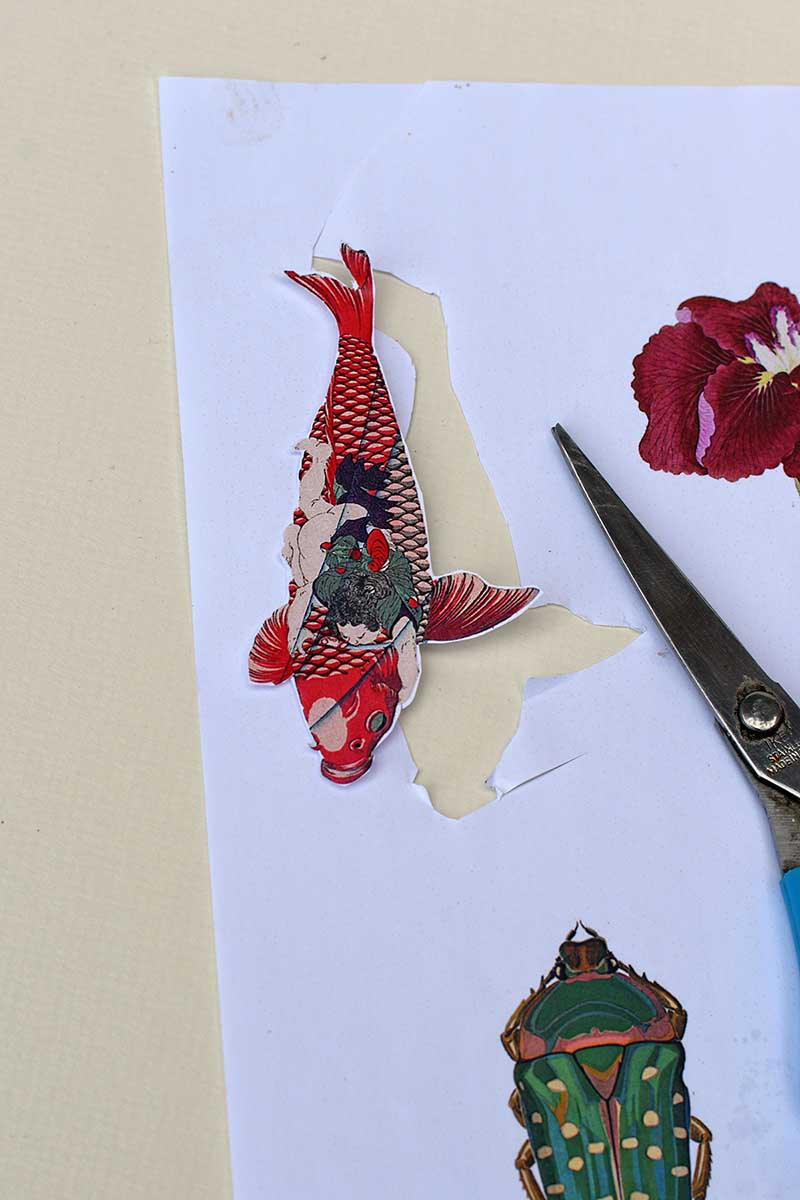
Step 2: Choose and Print Your Image: I love using vintage images from Pictureboxblue.com for this craft, but you can use your photos too! Please select an image and print it using a laser printer on regular paper. If your image includes text, remember to reverse it before printing so it transfers correctly onto the rock.
Cut the Image: Trim your printed image to fit the size of your rock. Leaving a small border around the image makes handling easier during the transfer process.

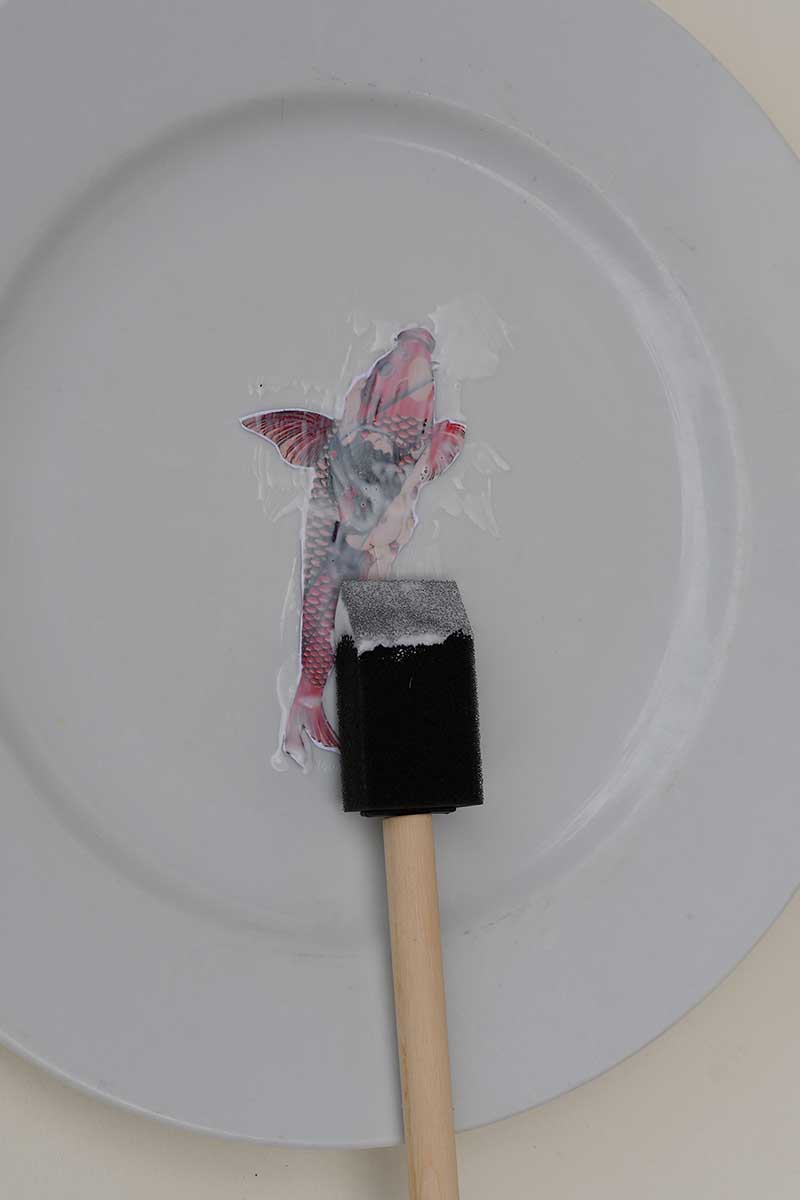
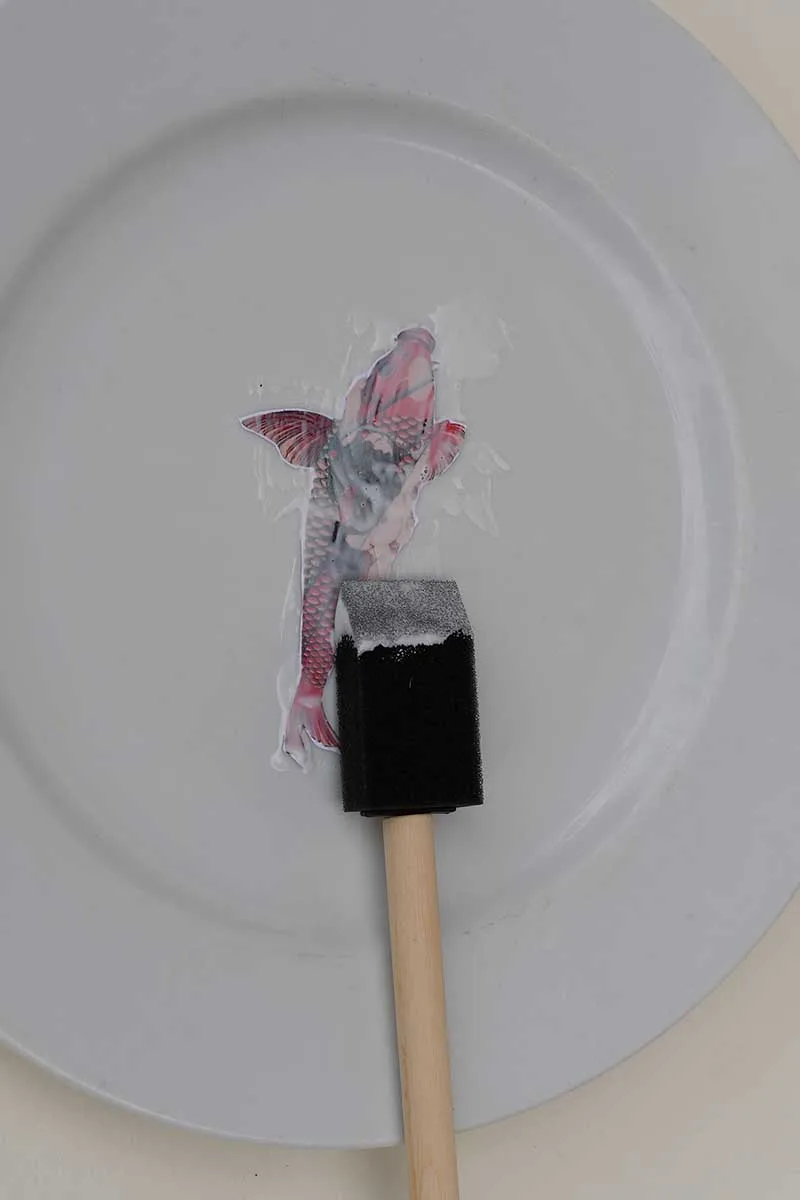
Step 3: Apply Mod Podge: Use a foam brush to apply a generous layer of Mod Podge to the printed side of your image. Make sure the entire image is coated evenly.
Step 4: Place the Image on the Rock: Carefully place the image face down onto the rock. Press down firmly, smoothing out any air bubbles or wrinkles. Let it dry completely; this can take several hours or overnight.

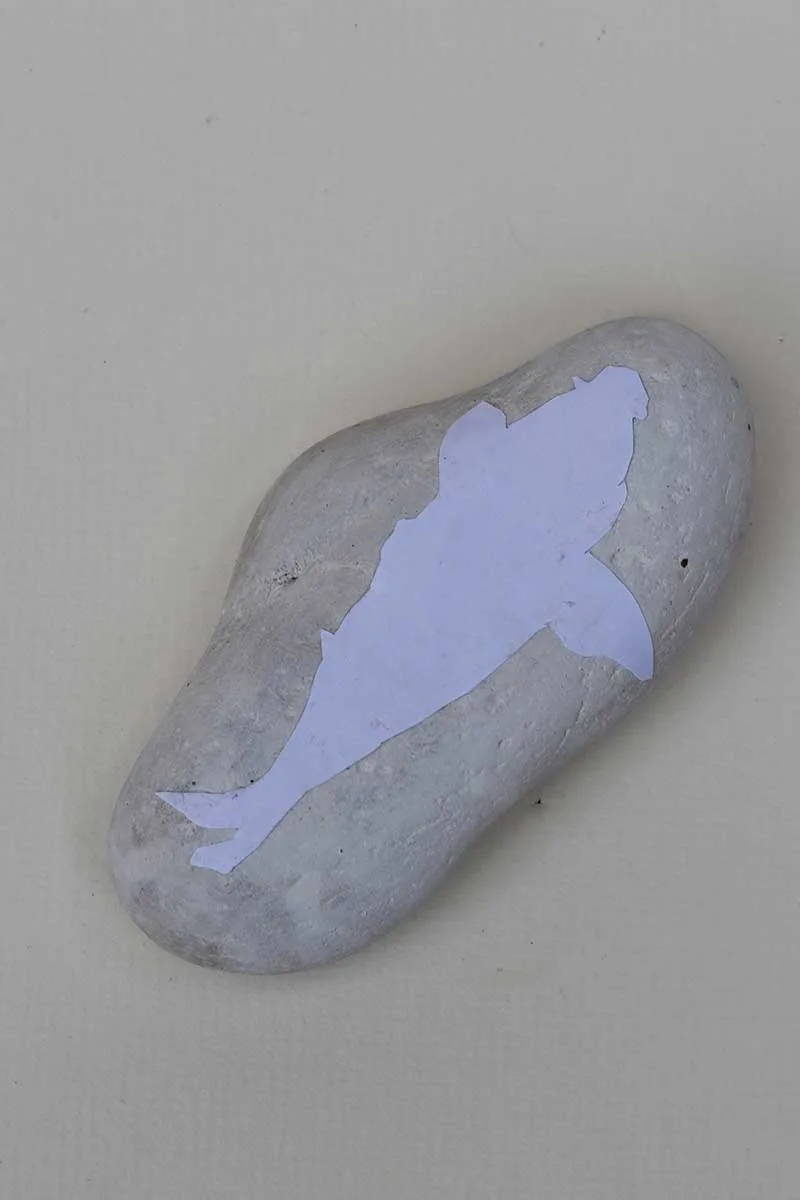
Step 5: Dampen the Paper: After the image has dried on the rock, lightly dampen the paper with water and a damp sponge. Soak the paper enough to loosen the fibres.
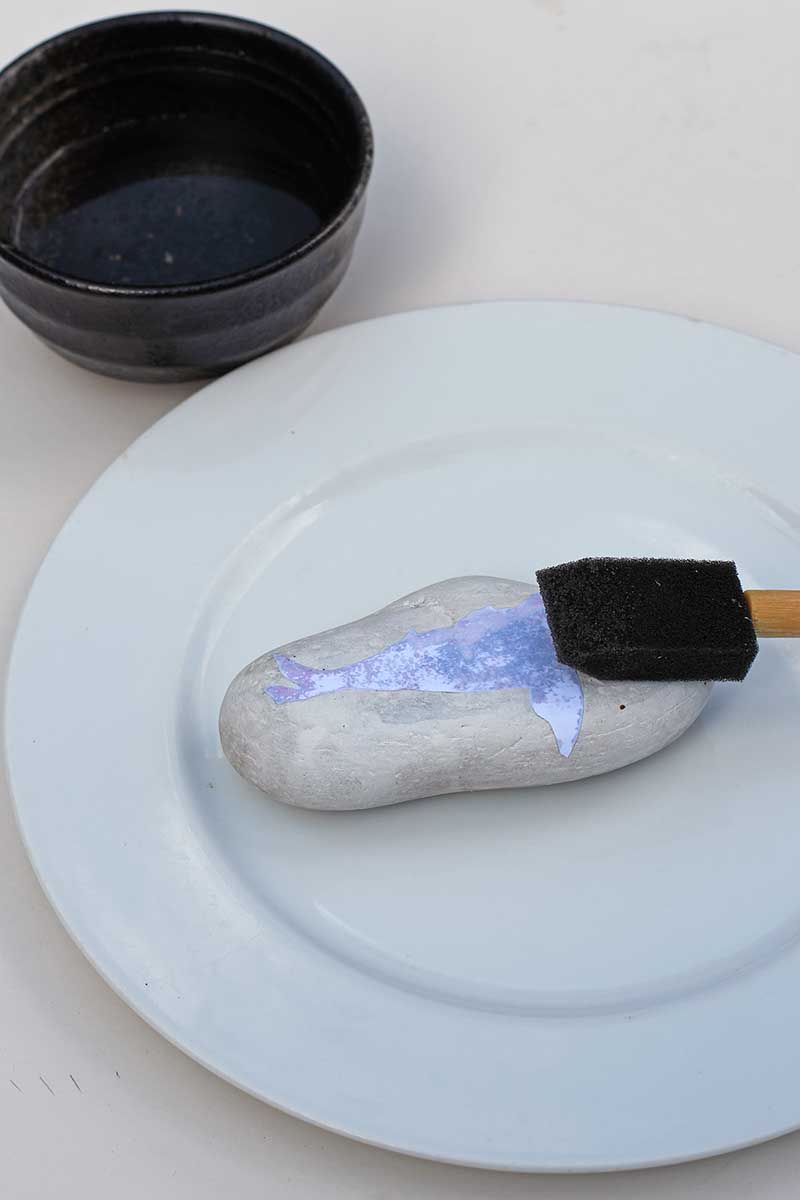

Step 6: Remove the Paper: Gently rub the paper with your fingers or the foam brush. The paper will begin to come off, revealing the transferred image. This step requires patience to avoid rubbing off the image itself.
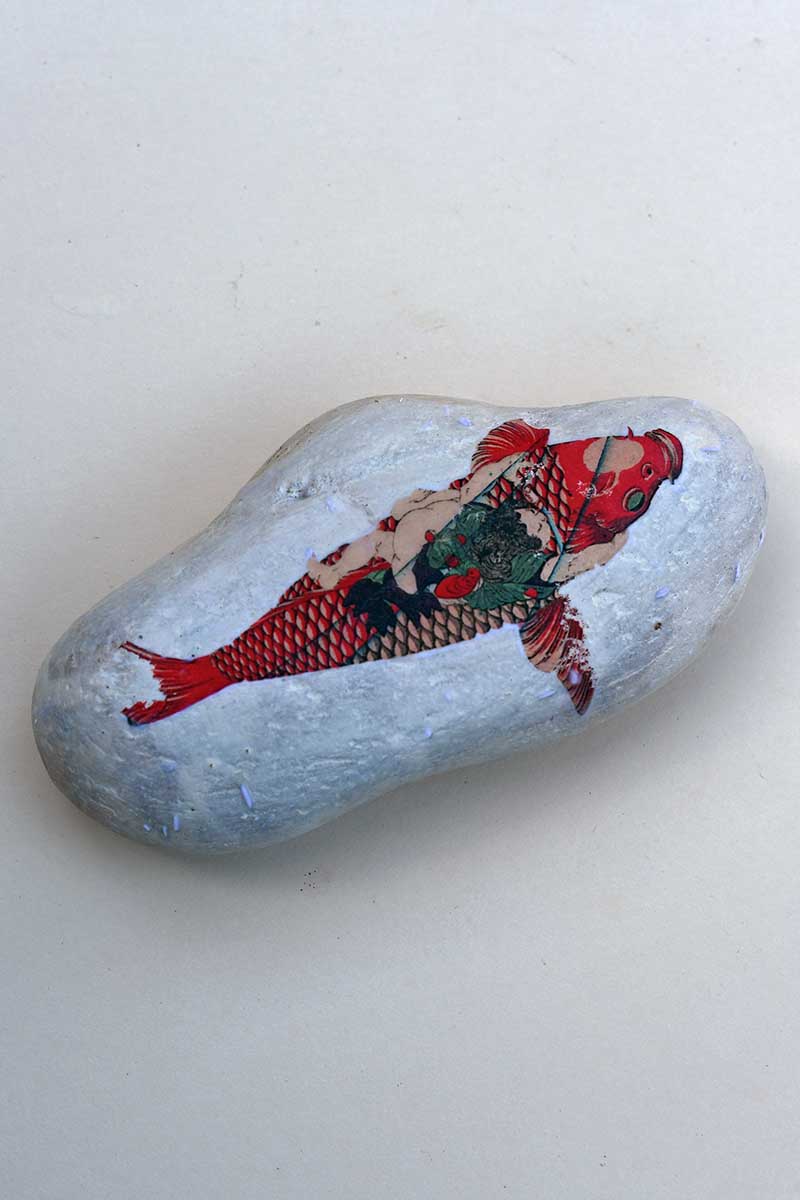

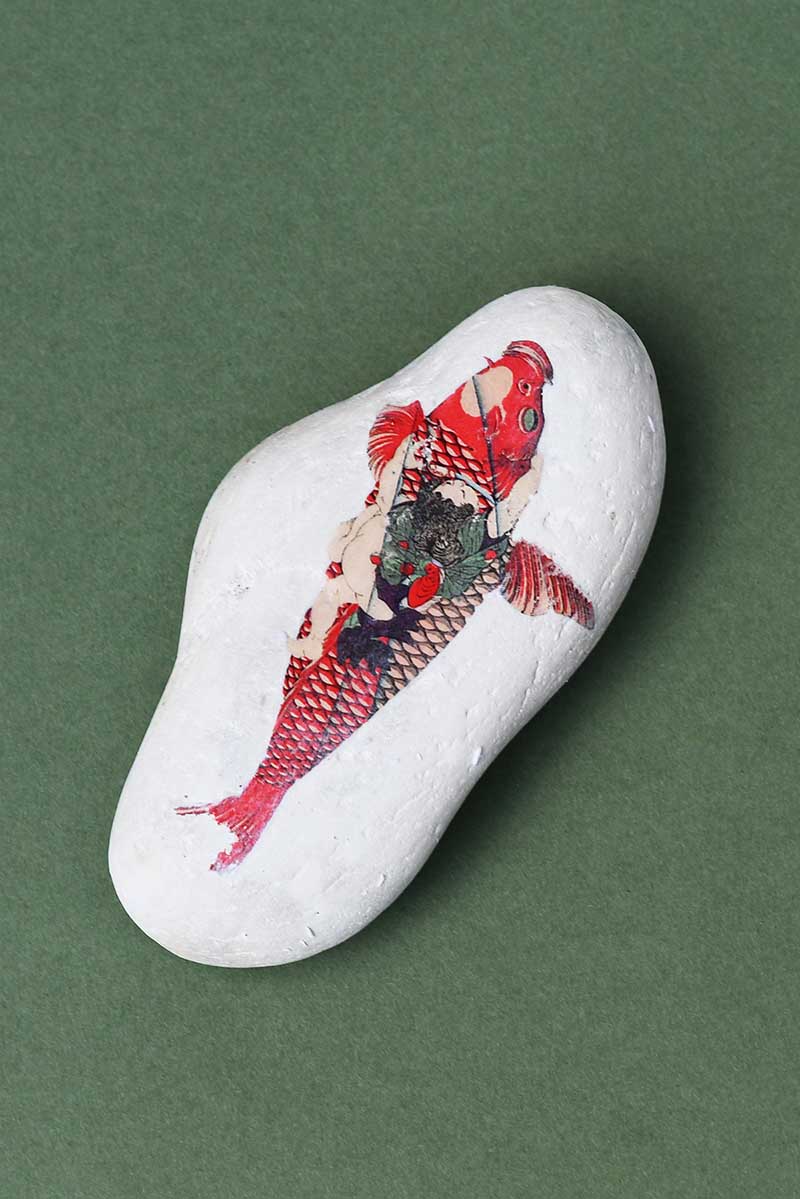
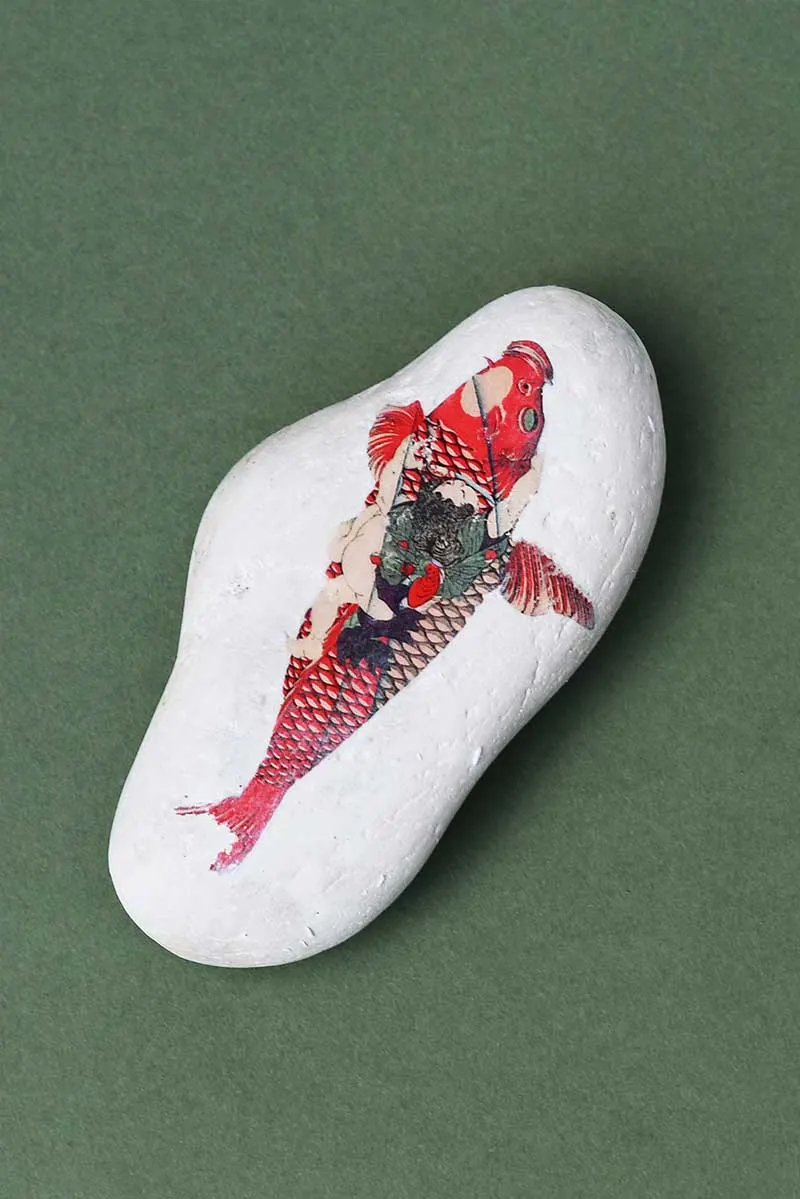
Step 8: Seal the Image: Once all the paper is removed and the image is fully revealed, let the rock dry completely. Finish by applying a layer of clear acrylic sealer to protect the image and give it a polished look.
Tips and Tricks:
- Choose Smooth Rocks: Smoother rocks yield better results, ensuring a more even image transfer.
- Laser Prints Better: Try to use laser-printed images to print onto rocks. Inkjet prints may smear during the process.
- Patience is Key: Take time with each step, especially when removing the paper. Rushing can lead to smudged or damaged images. (But it doesn’t have to be perfect; a few nicks in the transferred picture add to the handmade charm of this craft.)
- Experiment with Designs: Don’t hesitate to try different images and rock sizes. This craft is versatile and offers endless possibilities for customization.

Transferring images onto rocks is fun and a fantastic way to create personalized gifts, such as homemade paperweights or unique decorative pieces for your home. You can turn ordinary stones into something extraordinary with just a few materials and some creativity.
Check out these map rock keyrings for more ideas on what to do with printed rocks and stones.

FAQ Section
Q: Can I use an inkjet printer for this project? A: It’s best to use a laser printer for this image transfer technique. Inkjet prints may smear or not transfer as cleanly onto the rocks, but if you have no alternative, it’s worth giving it a try.
Q: Do I need to whitewash the rocks beforehand? A: Not if your rocks are white to start with. Whitewashing the rocks with white acrylic paint can help lighten the background, ensuring your transferred image appears more vibrant.
Q: Can I use personal photos instead of vintage images? A: Absolutely! This technique works just as well with personal photos as vintage images, making it a versatile craft for all kinds of designs.
Q: Can I use any rock? A: Smooth, clean rocks work best for this craft, allowing for a more even image transfer.
Q: How long does the drying process take? A: Allow the Mod Podge or gel medium to dry completely before removing the paper—this can take several hours or overnight.
Q: What can I do with the finished rocks? A: These rocks can be decorative or make lovely homemade gifts like paperweights—larger rocks as doorstops. The possibilities are endless!

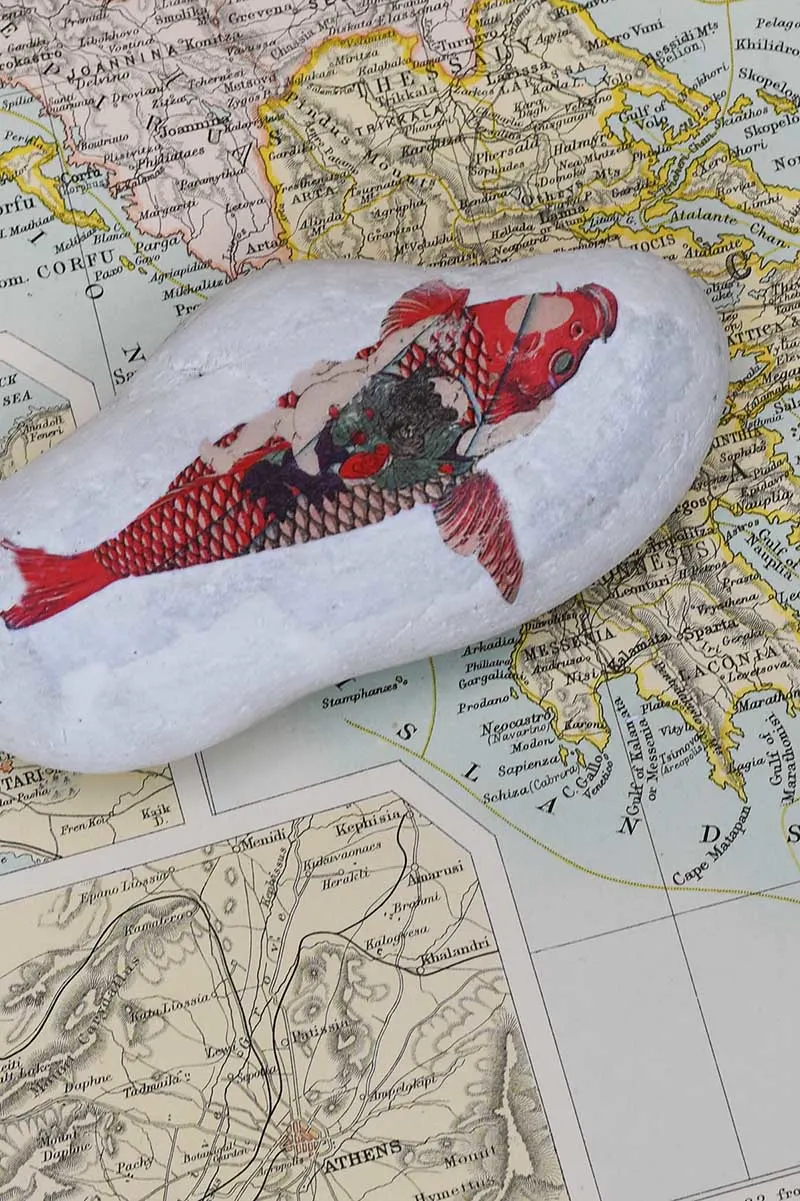
Image Transfer Onto Other Surfaces
If you’ve mastered image transfer onto rocks, why not experiment with other surfaces? The same technique can be applied to various materials like wood and fabric, but things get a bit trickier when it comes to super shiny, non-porous surfaces like shells, ceramics, and glass. Here’s a quick guide to expanding your craft:
- Wood: Wood surfaces, like plaques or slices, offer a rustic canvas for vintage images. Check out this tutorial on how to print on wood in several ways.
- Fabric: Natural cloths like cotton or linen are ideal for transferring images. This post highlights four different ways to print onto fabric at home.
- Shells: Flat, smooth seashells are beautiful, but traditional image transfer can be challenging due to their shiny surface. I tried this image transfer method with scallops and oyster shells but succeeded only with one.
- Ceramics and Glass: These shiny, non-porous surfaces can be tricky for image transfer because the images may slide off. I recommend using decoupage instead for ceramic tiles, plates, mugs, and glass items like jars or frames. Like shells, this method helps secure the image and provides a smooth finish once sealed.
By adapting your technique to different surfaces, such as wood, fabric, shells, ceramics, or glass, you can create various personalised and creative projects. Decoupage is an excellent alternative for those more challenging, shiny surfaces, ensuring your vintage images stick beautifully. Check out how to decoupage shells on Pictureboxblue.

If you fancy, you can Buy Me A Coffee Here.
Donna via Funky Junk Interiors
Saturday 31st of August 2024
Oh goodness, those images are so special! I love their vibrancy! You just transformed the world of painted rocks in a very upscale way! Adore these.
claire
Saturday 31st of August 2024
Thank you so much, they are fun to make and look really good in person too.
New Upcycle Ideas 742 - Funky Junk InteriorsFunky Junk Interiors
Saturday 31st of August 2024
[…] Decoupaged prints onto rocks by Picture Box Blue […]
Joanne
Monday 26th of August 2024
Oh I love this idea! Thank you for the easy to follow tutorial.
claire
Monday 26th of August 2024
Thank you, they are fun to make.
Julie
Monday 26th of August 2024
These rocks have turned out beautifully, the colours are so vibrant. Thanks for all the tips and hints for getting great results.
claire
Monday 26th of August 2024
Thank you, I was really pleased with the results to the rocks do look great.