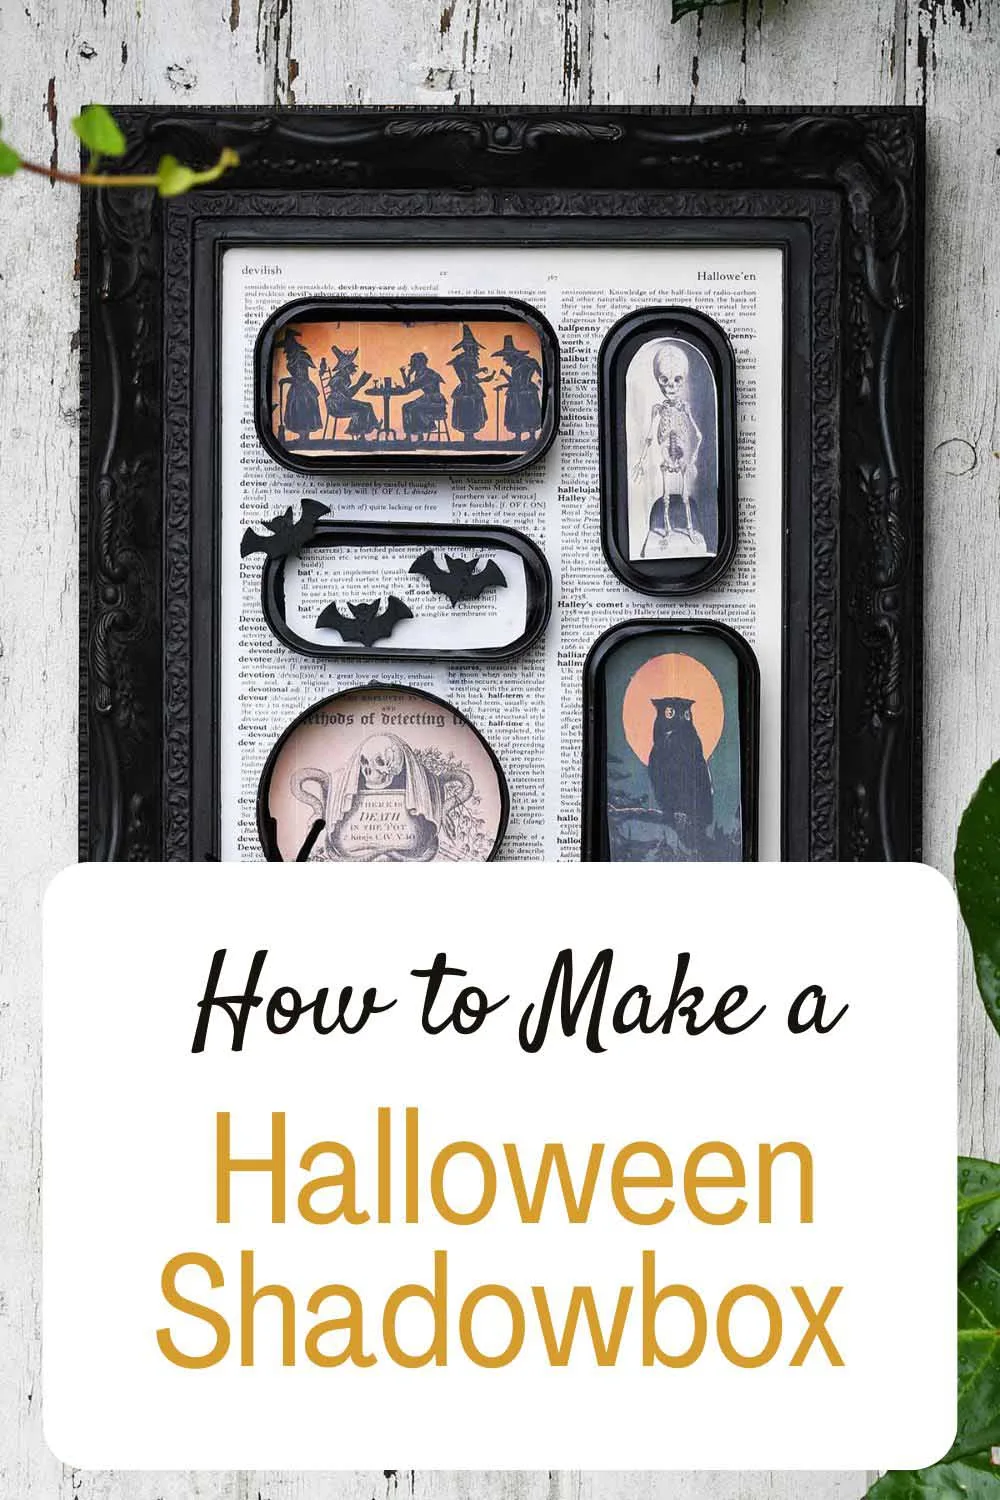
Turn old tin cans and vintage spooky images into a hauntingly beautiful Halloween shadow box. Follow this simple tutorial for eerie yet elegant DIY decor.
I love finding unique ways to display some of the beautiful vintage images I come across for my site, Pictureboxblue. Whether creating colourful rainbow wall galleries, whimsical paper parrot cloches, or intricate shadow boxes, I enjoy thinking outside the box (literally!) when showcasing these treasures.
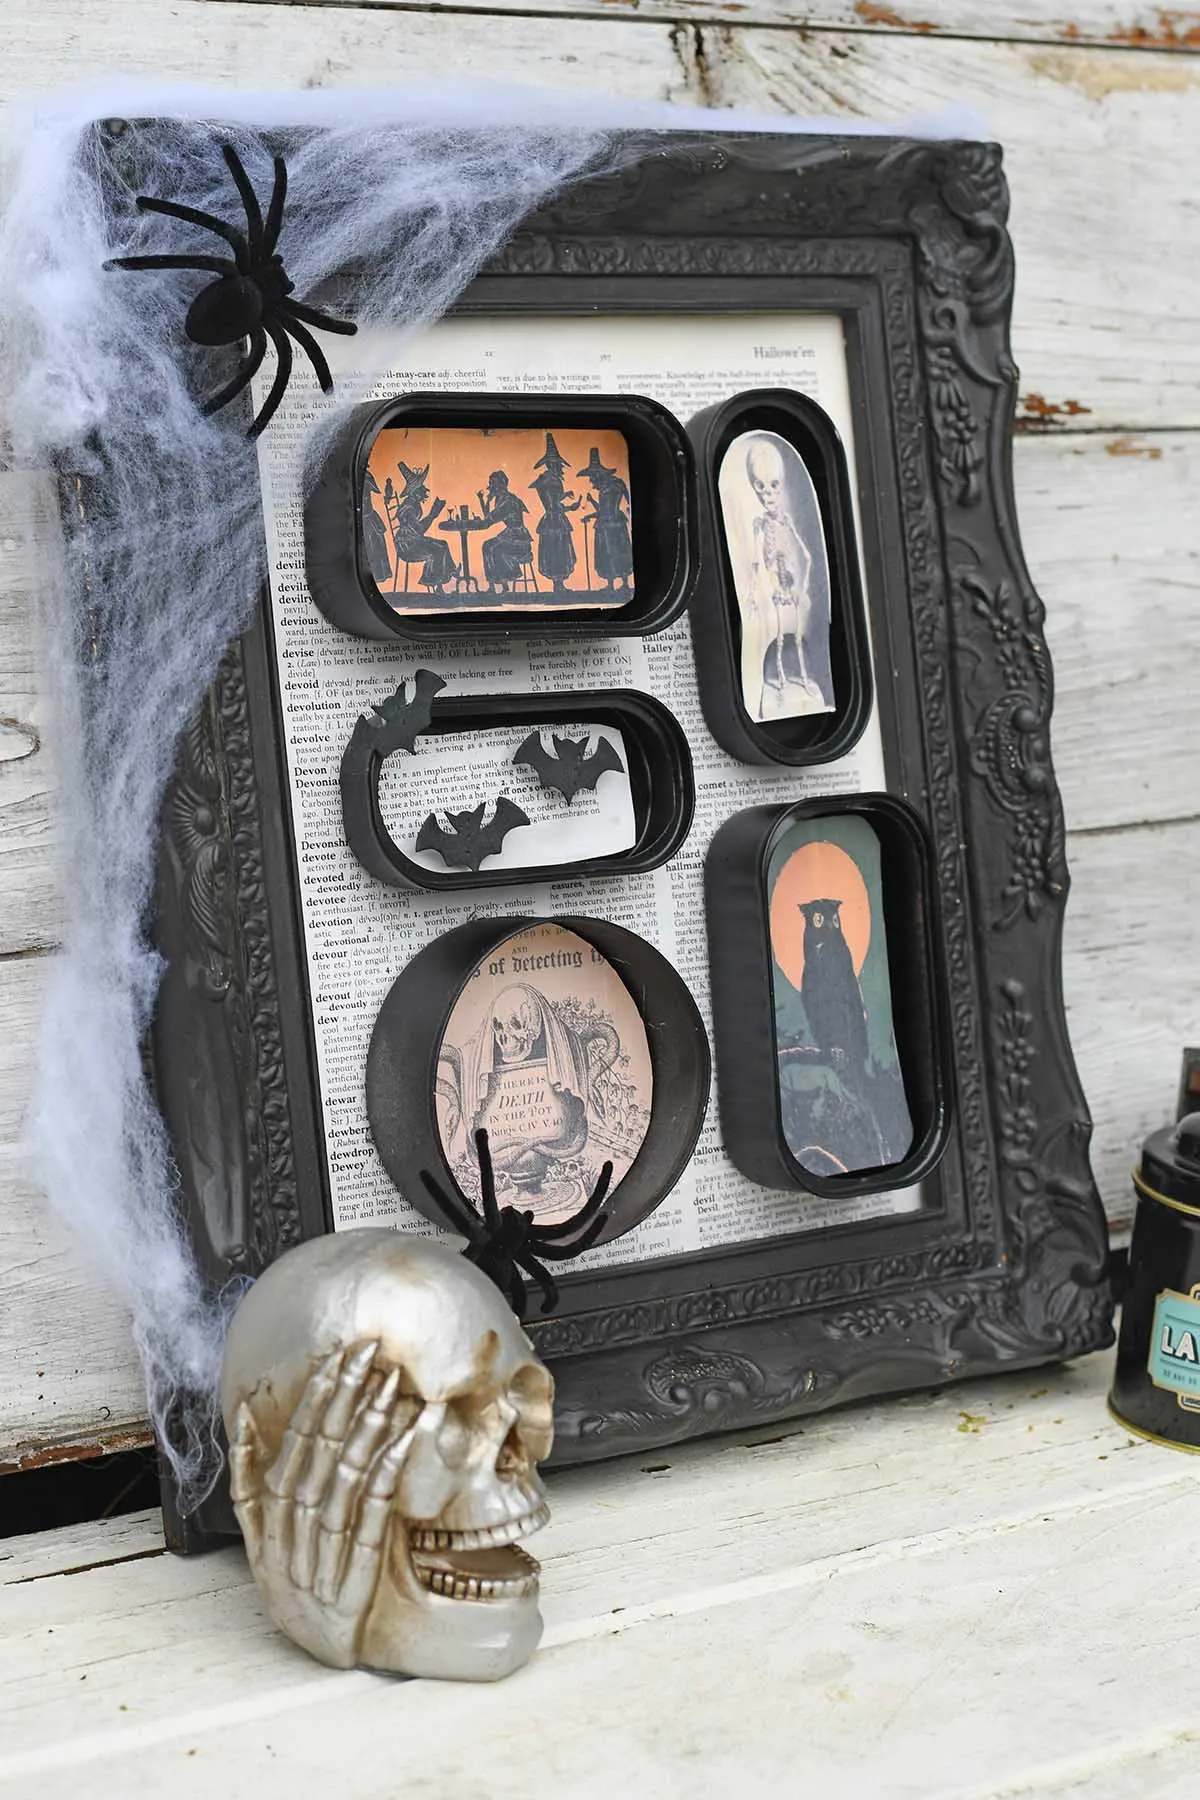
For this Halloween craft, I’m sharing a spooky, vintage-inspired DIY that combines upcycling and some of the spooky Halloween-themed images you can find on Pictureboxblue. I turn small tin cans (the kind from tinned fish!) into eerie shadow boxes using vintage clip art and a few crafty touches. The result is a hauntingly beautiful wall decoration that adds a unique vintage twist to your Halloween decor.
We participate in the Amazon Services LLC Associates Program, an affiliate advertising program designed to provide a means for us to earn fees by linking to Amazon.com and affiliated sites. As an Amazon Associate, I earn from qualifying purchases.
Materials Used
- Small tin cans (various shapes and sizes from tinned fish)
- Black spray paint
- Foam adhesive pads
- Vintage Halloween clip art (check out Pictureboxblue for spooky owls, skeletons, and more!)
- An ornate black picture frame
- Pages from an old dictionary (preferably with words like “Halloween,” “witch,” and “devil”)
- Cotton wool or faux spider web material
- Small plastic spiders
- Glue, scissors, and a ruler
DIY Halloween Shadow Box Diorama
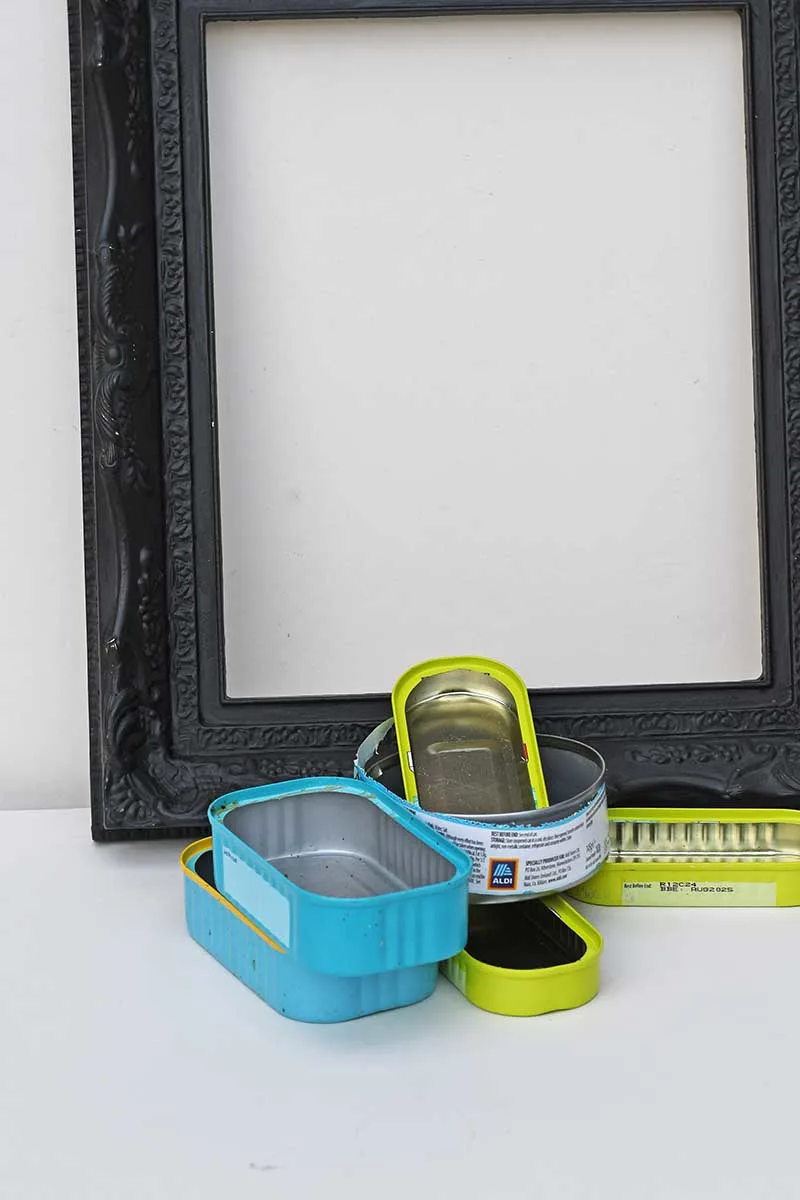
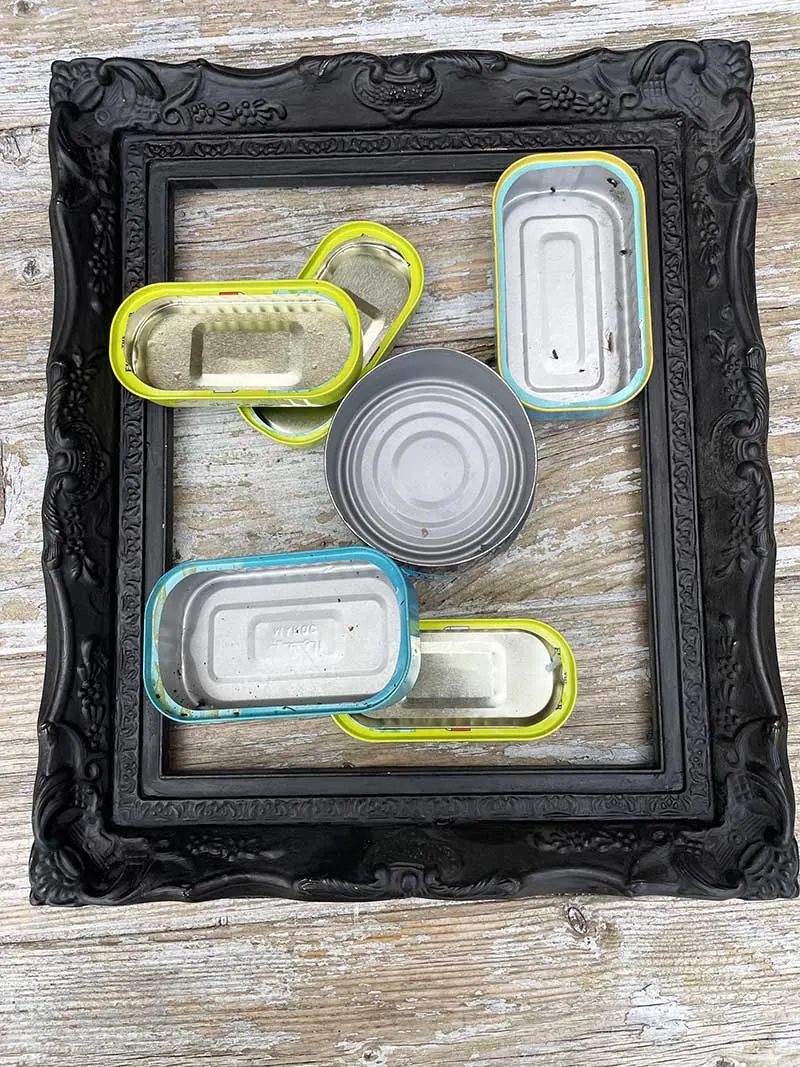
Step 1: Pick Your Tin Cans: First, play around with different combinations and patterns of tin cans in your frame. This will help you decide which combination to use for this craft.
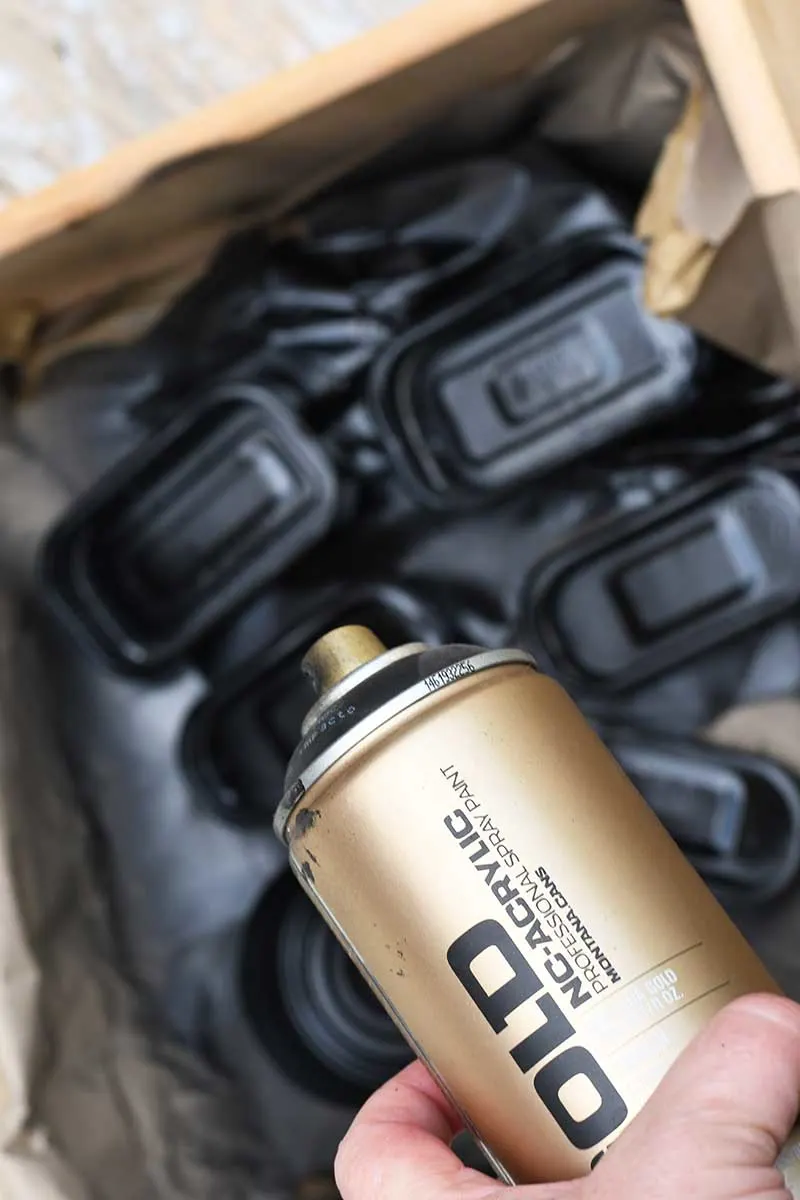
Step 2: Prep Your Tin Cans. Start by thoroughly cleaning out your tin cans. Once clean and dry, spray paint them black for a spooky, gothic look. Let the paint dry completely before moving on to the next step. It’s best to spray paint them outside in a box.
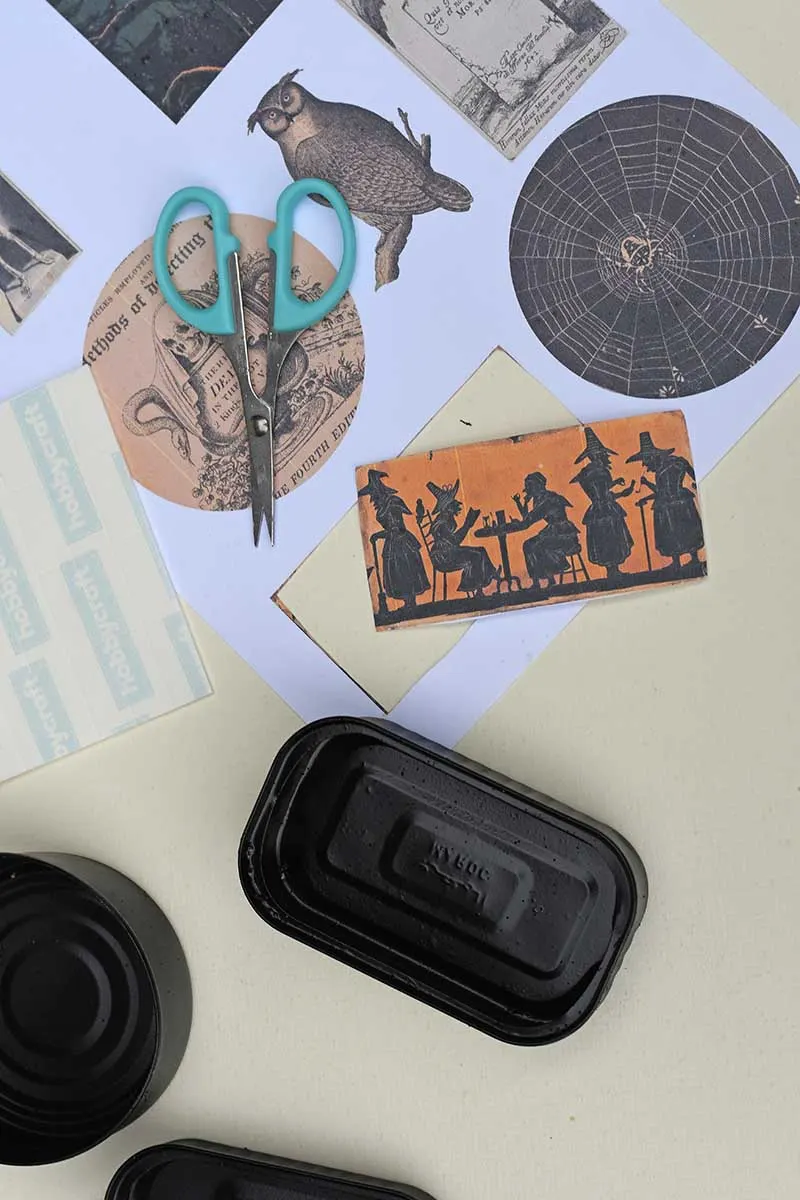
Step 3: Choose Your Vintage Halloween Images: The site has plenty to choose from. I compiled a clip art sheet of classic Halloween images and illustrations and resized them to fit in the tins. You can download my Halloween clip art collection here.
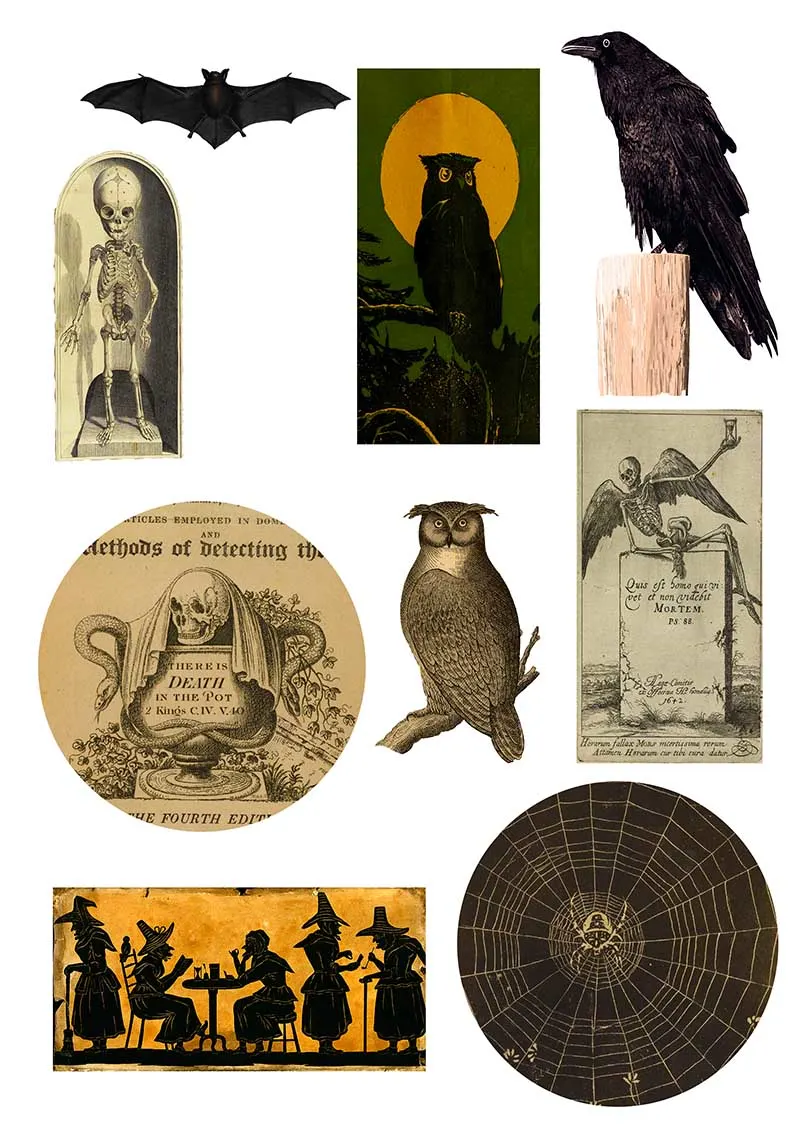
Step 4: Cut out the Halloween-themed images you want and place them in the tins. I used a stack of foam adhesive pads on the back of each picture to raise the images and create a slight 3D effect.
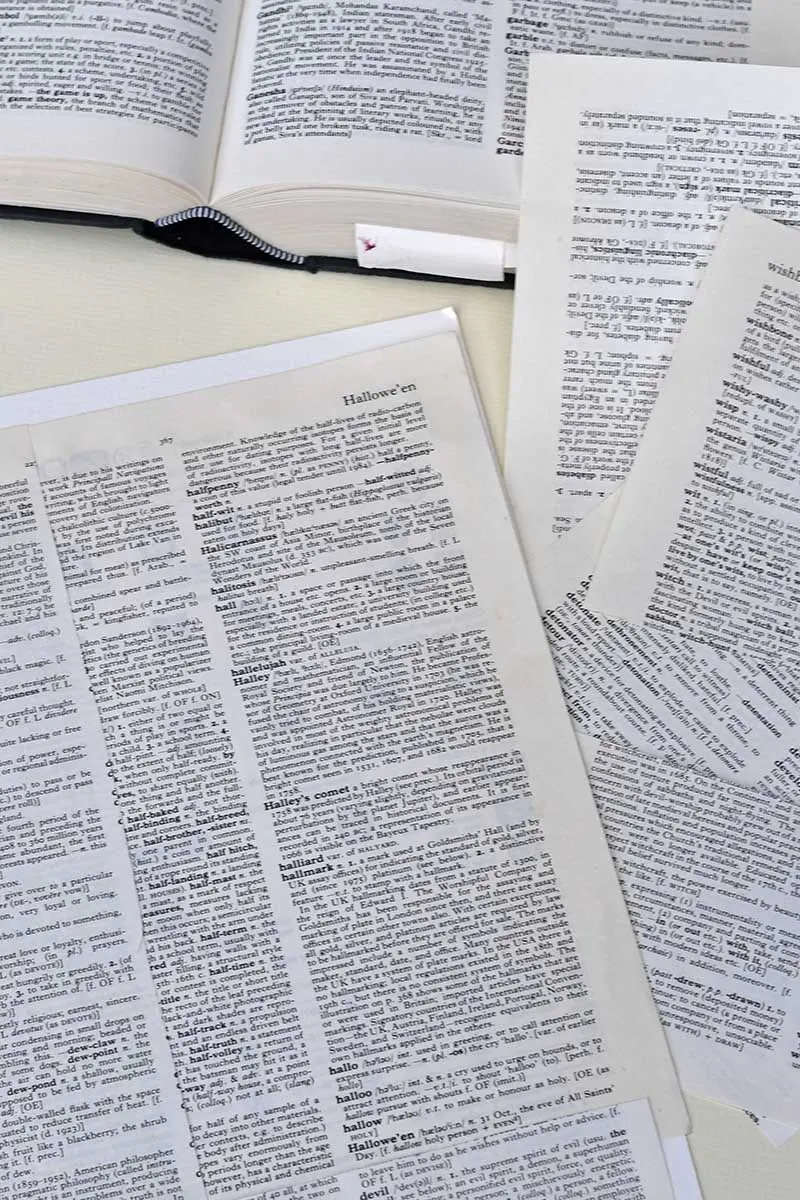
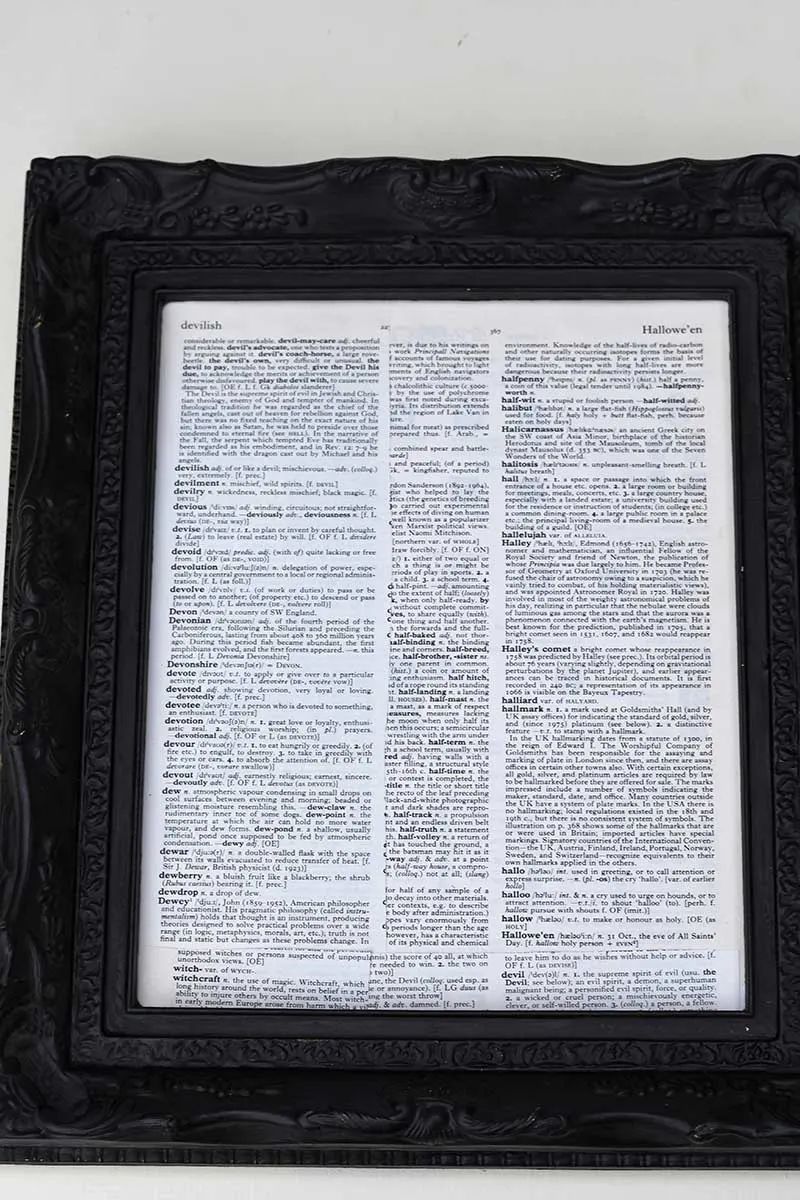
Step 5: Prepare Your Picture Frame: I used an ornate black frame, which ties into the gothic Halloween theme. For the background, I used pages from an old dictionary. Try to find pages with words that fit the Halloween theme (I used ones with “witch,” “devil,” and “Halloween”). This little detail adds an extra layer of spookiness!
Putting it Together
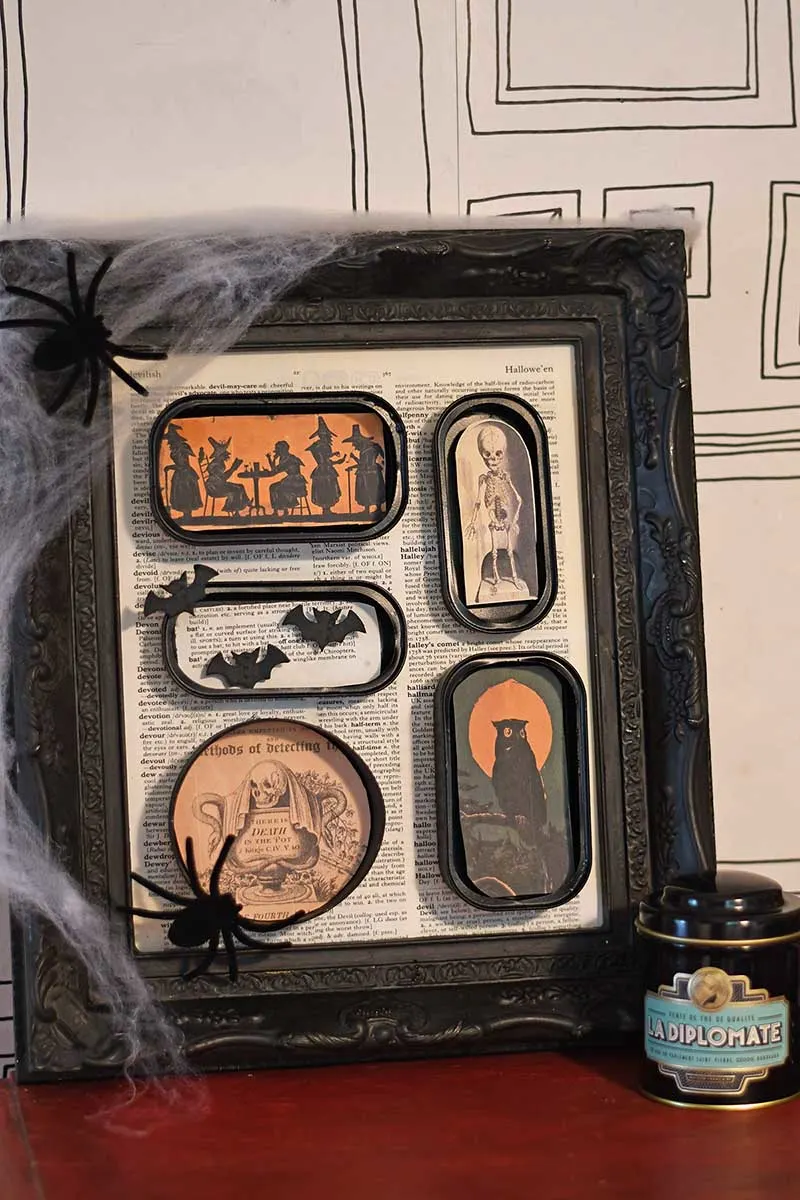
Step 6: Arrange and assemble: Once the tin cans are dry and your images are set, arrange them inside the frame. Play around with the layout until it feels right. When you’re happy with the design, glue the tin cans securely onto the dictionary paper backing inside the frame.
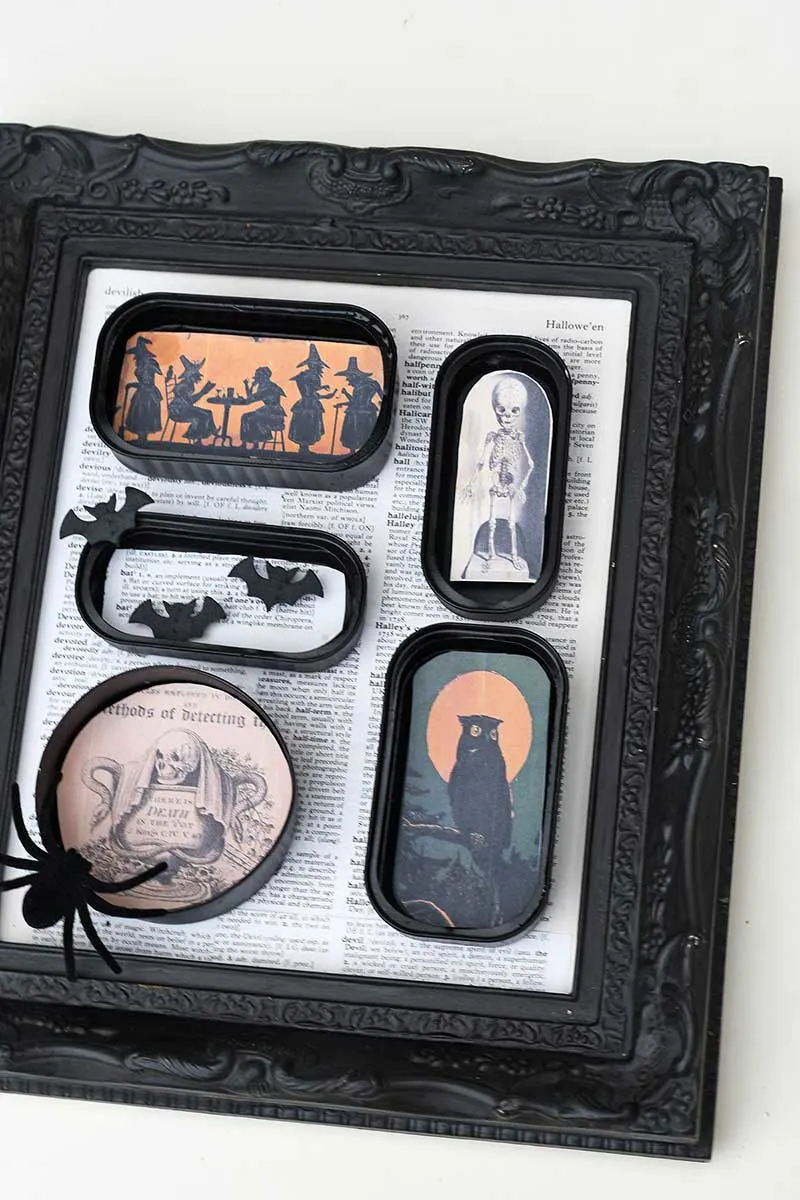
Step 7: Add the spooky finishing touches: Add some cotton wool or faux spider webs to the top corner of the frame to bring the Halloween vibes to life. You can also glue on several plastic spiders to amp up the creepy factor. And there you have it: your DIY Halloween shadow box diorama is complete!
Conclusion & Other Related Posts
I’m thrilled with how this Halloween shadow box turned out! It’s a fun and inventive way to showcase the fantastic vintage Halloween images from Pictureboxblue, and it’s ideal for anyone wanting a unique twist on DIY Halloween decor. The blend of vintage charm and spooky atmosphere brings this piece to life, and upcycling tin cans gives it an eco-friendly bonus.
Be sure to explore the site’s collection of vintage Halloween postcards and the DIY illuminated skull I created using vintage skull illustrations from Pictureboxblue.
For all natural history fans, fantastic collections of owl, bat, and spider prints are perfect for adding a little eerie elegance to your Halloween decor. And if you’re wondering what to do with the rest of that old dictionary, check out this roundup of creative book crafts and the dictionary paper advent calendar for more inspiring ideas!
Also, if you have any leftover tin cans, you can make these beautiful butterfly ornaments for Christmas or these mini snowglobe ornaments.

Debora
Wednesday 17th of September 2025
I have no idea how u ended up in my Outlook but I'm glad you did... These are amazing! Thank u.
claire
Thursday 18th of September 2025
Thank you, glad you like the site!
Donna via Funky Junk Interiors
Saturday 5th of October 2024
Wow. I wouldn't have guessed tin cans were used on this project! They really enhance the printables! How incredibly cool!
claire
Saturday 5th of October 2024
Thank you so much. It’s a fun way to display the spooky Halloween art.
Kerryanne
Friday 4th of October 2024
What a clever upcycle Claire... it looks amazing! Thank you for sharing your Halloween shadow box DIY at Create, Bake, Grow & Gather this week. I'm delighted to be featuring it at tonight's party and pinning too. Hugs ~ Kerryanne
claire
Friday 4th of October 2024
Thank you so much, that is awesome.
Beth
Wednesday 2nd of October 2024
Love this spooky and cute recycled shadowbox frame, Claire! Featuring you at the Creatively Crafty Linky Party! Creatively, Beth
claire
Wednesday 2nd of October 2024
That's awesome thank you, I look forward to seeing it.
User Engagement Insights
Wednesday 2nd of October 2024
Your blog post was like a warm hug on a cold day. Thank you for spreading positivity and kindness through your words.
claire
Wednesday 2nd of October 2024
Thank you.